


MODULE 1-HOW TO DRAW A CROISSANT?
In Module 1, we are supposed to capture a croissant and make orthographic drawings using the photos, practicing some certain drawing techniques and following conventions, and set up an axonometric with the drawings.

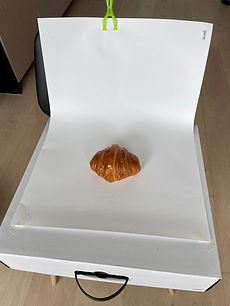
Photostage
Before capturing, we need to set up a photostage. I used an A1 sketch paper as the background, adjusted its height to ensure that it receives enough natural light. Also, I used camping light as supplementary light because it was a cloudy day. The camera I used for capturing is the rear-facing camera on Iphone 12 mini.


Capturing
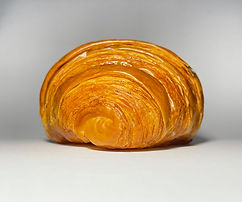
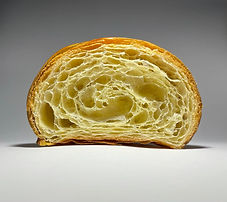
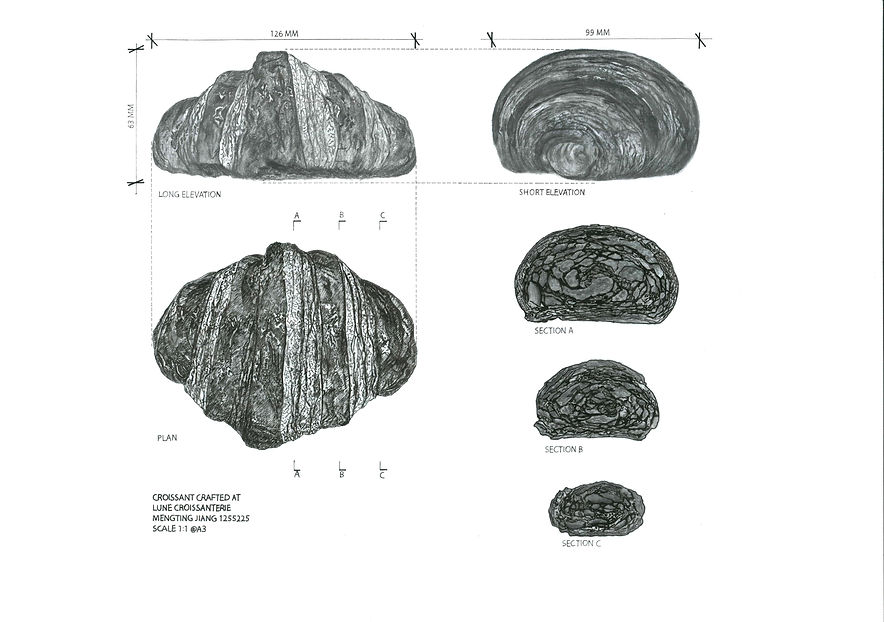
The croissant is photographed from three different angles, showing the long elevation, short elevation and plan view of the croissant, which consist the orthographic layout on the photo above. We are also told to cut one half of the croissant into three equal pieces and shoot the sections, which is in the preparation for the axonometric construction.

Drawing
How to achieve drawing accuracy is an essential question throughout this module, and we do used several methods to improve this, such as tracing in details and using the grids. There is one thing that I did to improve the accuracy of tracing, I pined the photos and the tracing paper together on a window and let the natural light go through so it is much clearer than the way that just put them on the table. Another method is practice, sometimes I need to draw two or three times to accomplish the ideal drawing that I want.


Croissant Axo

To set up the croissant axonometric, we traced the 45-leaned plan view and used the three sections to create a 3d space. When drawing the axonometric without tracing, I followed the rules used in sketch, which is, the closer the object is, the bigger it will be, and more details should be shown, to form a perspective for audience.